How to build an onboarding checklist in Svelte (SvelteKit & Vite Guide)
A complete guide to building a user onboarding checklist in Svelte. Learn how to create a floating checklist widget, track task completion, and ship activation flows faster with Flows.
Ondrej Pesicka • July 6, 2026
In this guide, you'll learn how to build an onboarding checklist (also known as a floating checklist, setup guide, or getting started widget) in your Svelte application. Whether you're using SvelteKit, Vite, or another Svelte setup, this tutorial will walk you through everything you need to know.
What is an onboarding checklist?
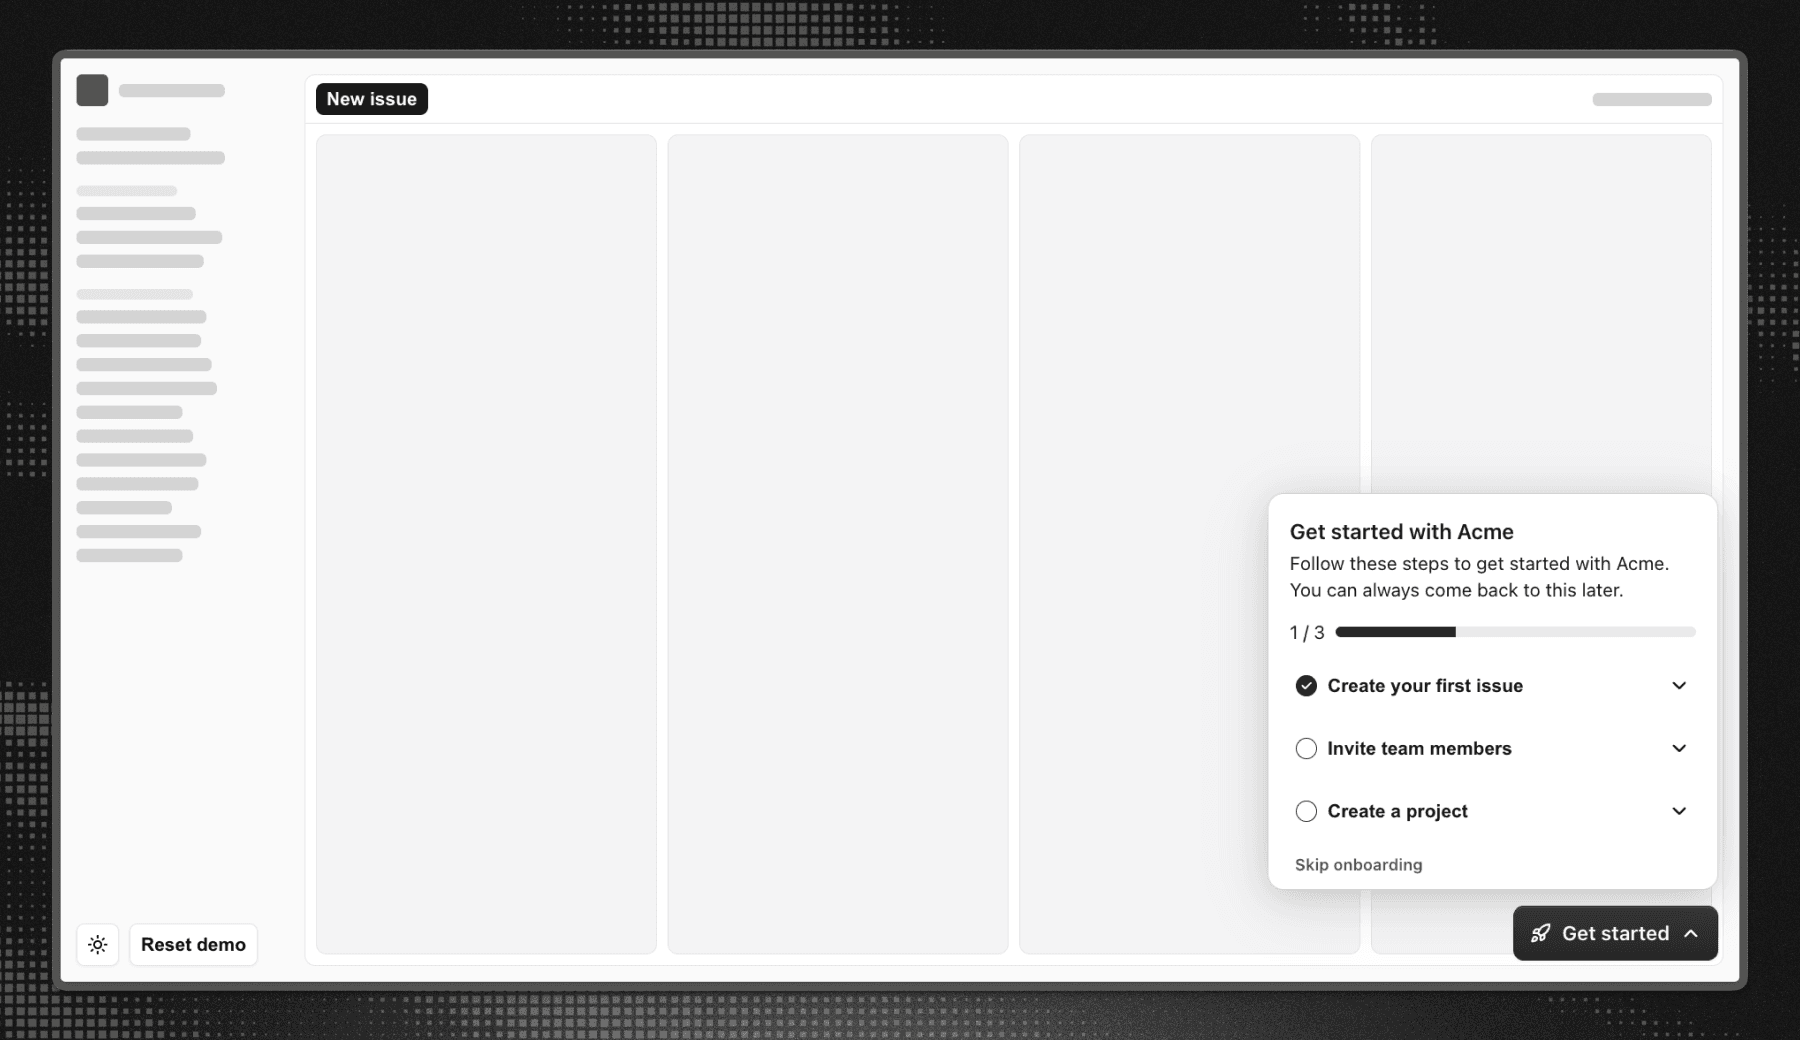
An onboarding checklist is a persistent in-app widget that guides new users through a list of setup tasks. It typically floats in a corner of the screen, tracks progress as users complete tasks, and stays available until the user finishes or dismisses it.
Unlike a product tour, a checklist doesn't enforce a sequence. Users can complete tasks in any order, skip steps, and return to them over time. This makes checklists ideal for multi-step activation flows where users need to configure their account, explore key features, or invite their team.
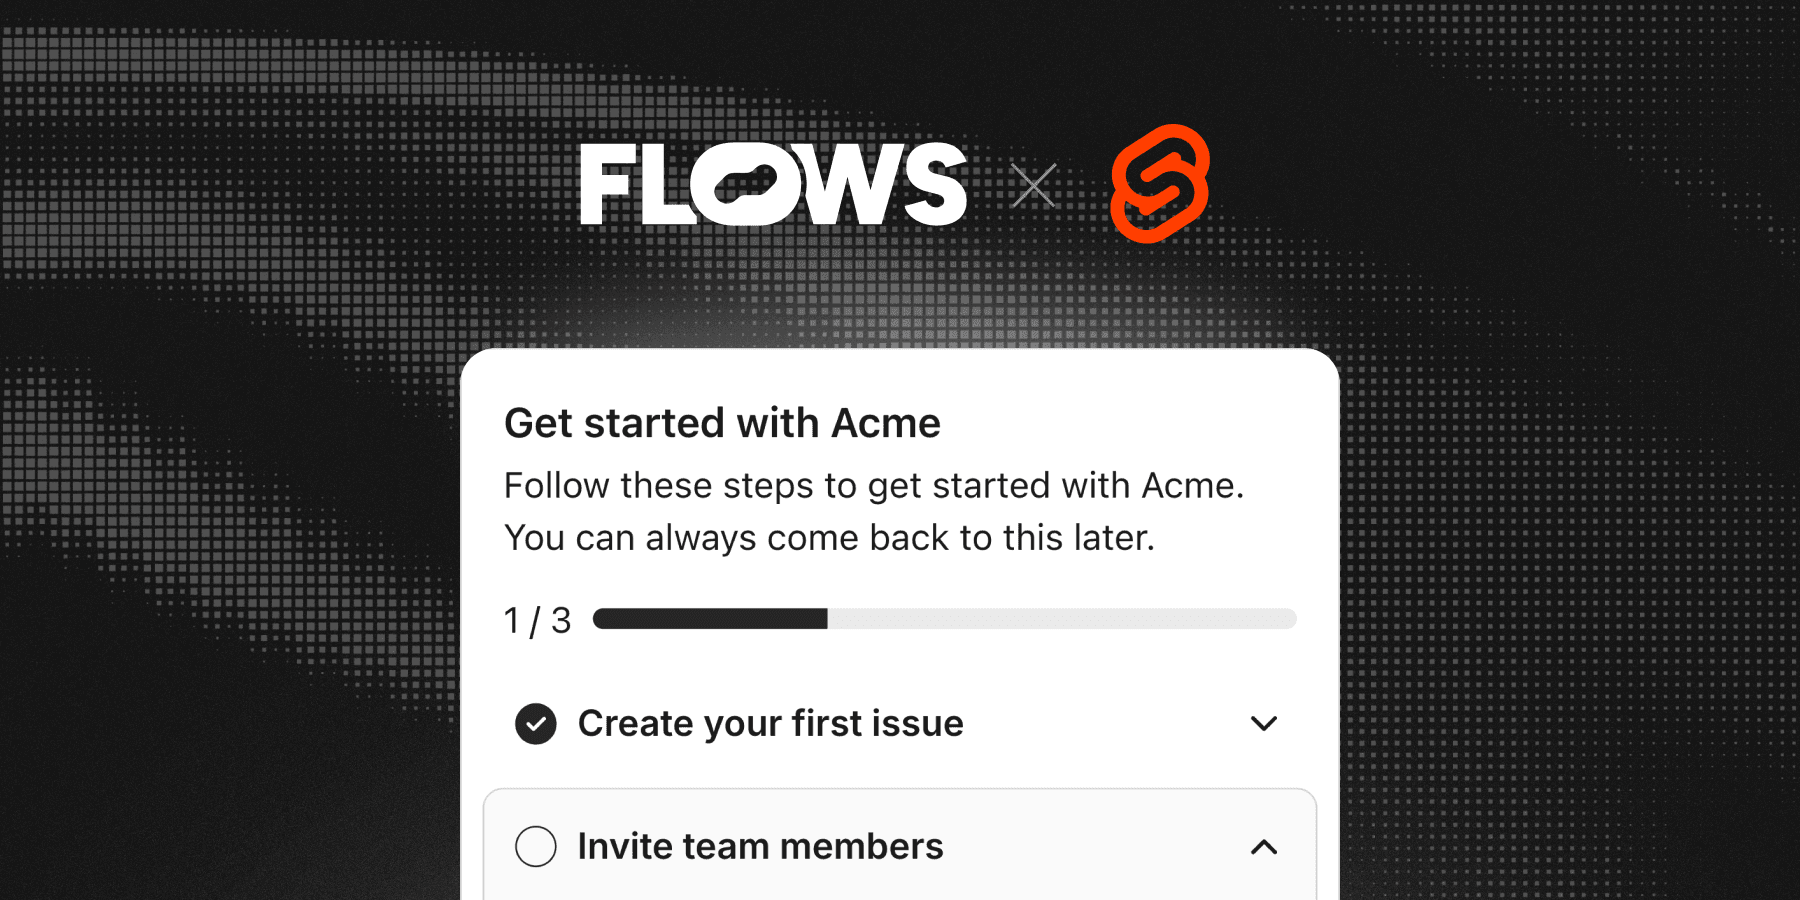
A typical floating checklist consists of:
- A widget button anchored to a corner of the screen that opens the checklist
- A popup with a title, description, and progress bar
- Task items with a title, description, and buttons that launch the relevant action
- A completed state that congratulates the user and lets them dismiss the widget
In practice, the checklist acts as an activation hub. Each item can launch a product tour, open a modal, or navigate the user to the right page in your app.
Why do teams use onboarding checklists?
Onboarding checklists are used to:
- Activate new users: guide people to the features that deliver their aha moment
- Drive setup completion: help users configure key settings before they start working
- Improve feature discovery: surface capabilities users haven't tried yet
Because users stay in control, checklists feel less intrusive than forced walkthroughs while still giving your product a clear path to value.
What goes into building an onboarding checklist?
Before you start building, it's helpful to understand all the moving parts behind even a simple checklist. You'll need:
- A UI widget with a floating button, popup, task list, and progress bar
- Progress tracking to store which tasks each user has completed
- Content management stored either directly in code or in some database
Depending on your product, you might also need:
- Localization for multilingual apps
- Analytics to track completion and drop-off per task
- Segmentation to show checklists only to the right users
- Custom UI elements to match your design system
Once you add all these requirements, building a complete solution in-house becomes surprisingly complex.
UI widget
Unlike tooltips or modals, there is no go-to Svelte package for onboarding checklists. Most teams assemble one from components already in their design system (e.g. Popover, Checkbox, and Progress from shadcn-svelte or flowbite-svelte) and write custom logic for opening, collapsing, and persisting the widget across pages.
If you're using SvelteKit, there's an extra consideration: the checklist depends on per-user state and browser APIs, so it should only run in the browser, after the page has mounted. Otherwise you risk hydration mismatches between the server-rendered HTML and the client state.
Building the visual part is doable, but the widget also needs to know which pages to appear on, remember whether it was open or closed, and react instantly when a task is completed elsewhere in your app.
Progress tracking
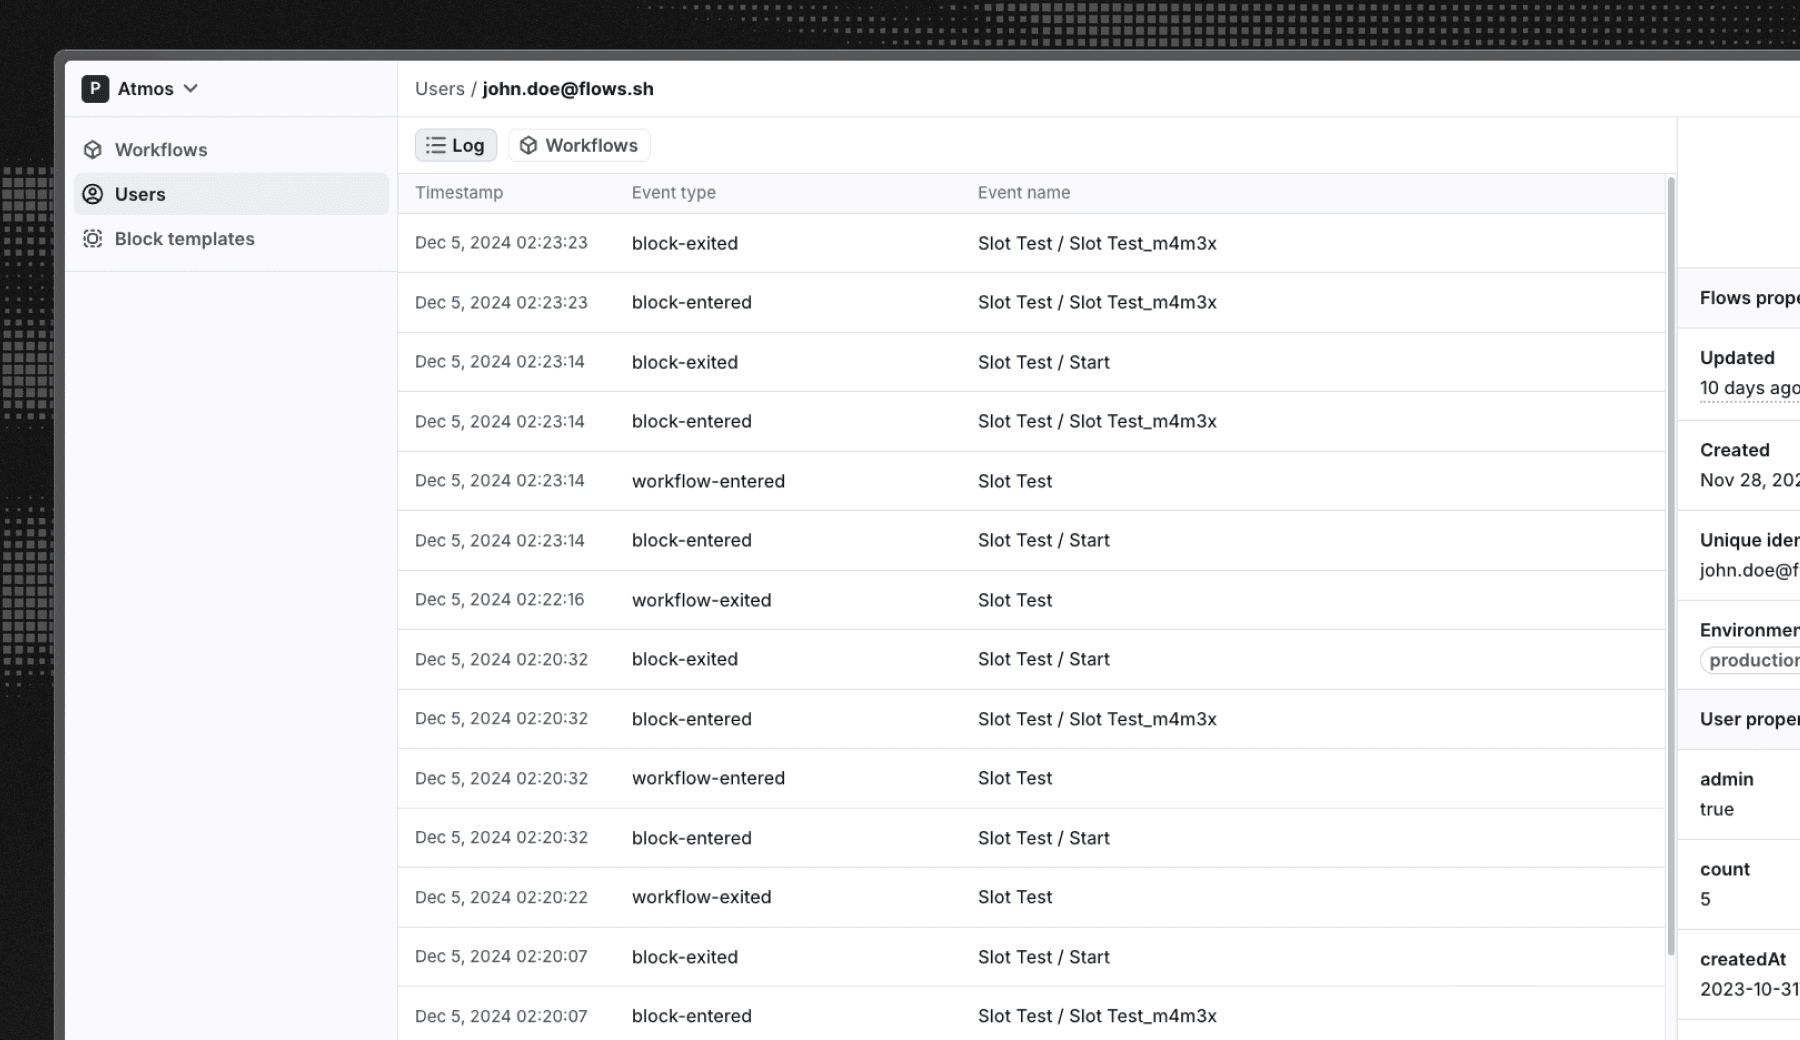
Checklists live or die by reliable state. For every user, you need to store which items they completed, whether they skipped the checklist, and whether they finished it. Since a checklist sticks around for days or weeks, this state has to survive reloads, new sessions, and multiple devices, so browser local storage won't cut it.
There's a second layer of complexity: items should be marked as completed based on what users actually do in your product. For example, the "Create your first project" item should complete when the user creates a project, not just when they click a button in the checklist. That means wiring app events to checklist state.
To achieve all of this in-house, you will need API endpoints, a database table to store per-item state, and logic that decides when each item and the whole checklist should complete.
Content management
Checklist content includes task titles, descriptions, button labels, and links. If your product changes frequently, your checklist will need updates too. To manage the content, you have two choices:
- Store content in your codebase: simple, but requires developer time for every small change.
- Store content in a database or CMS: better (and quicker) for teams where product, design, or marketing also contribute.
Many teams prefer letting non-engineering roles manage this content to avoid unnecessary interruptions and deployments.
Additional requirements
Depending on your product's complexity, you may also need:
Localization
If you support multiple languages, your onboarding needs to be multilingual, increasing the complexity of the content management you need to build.
Analytics
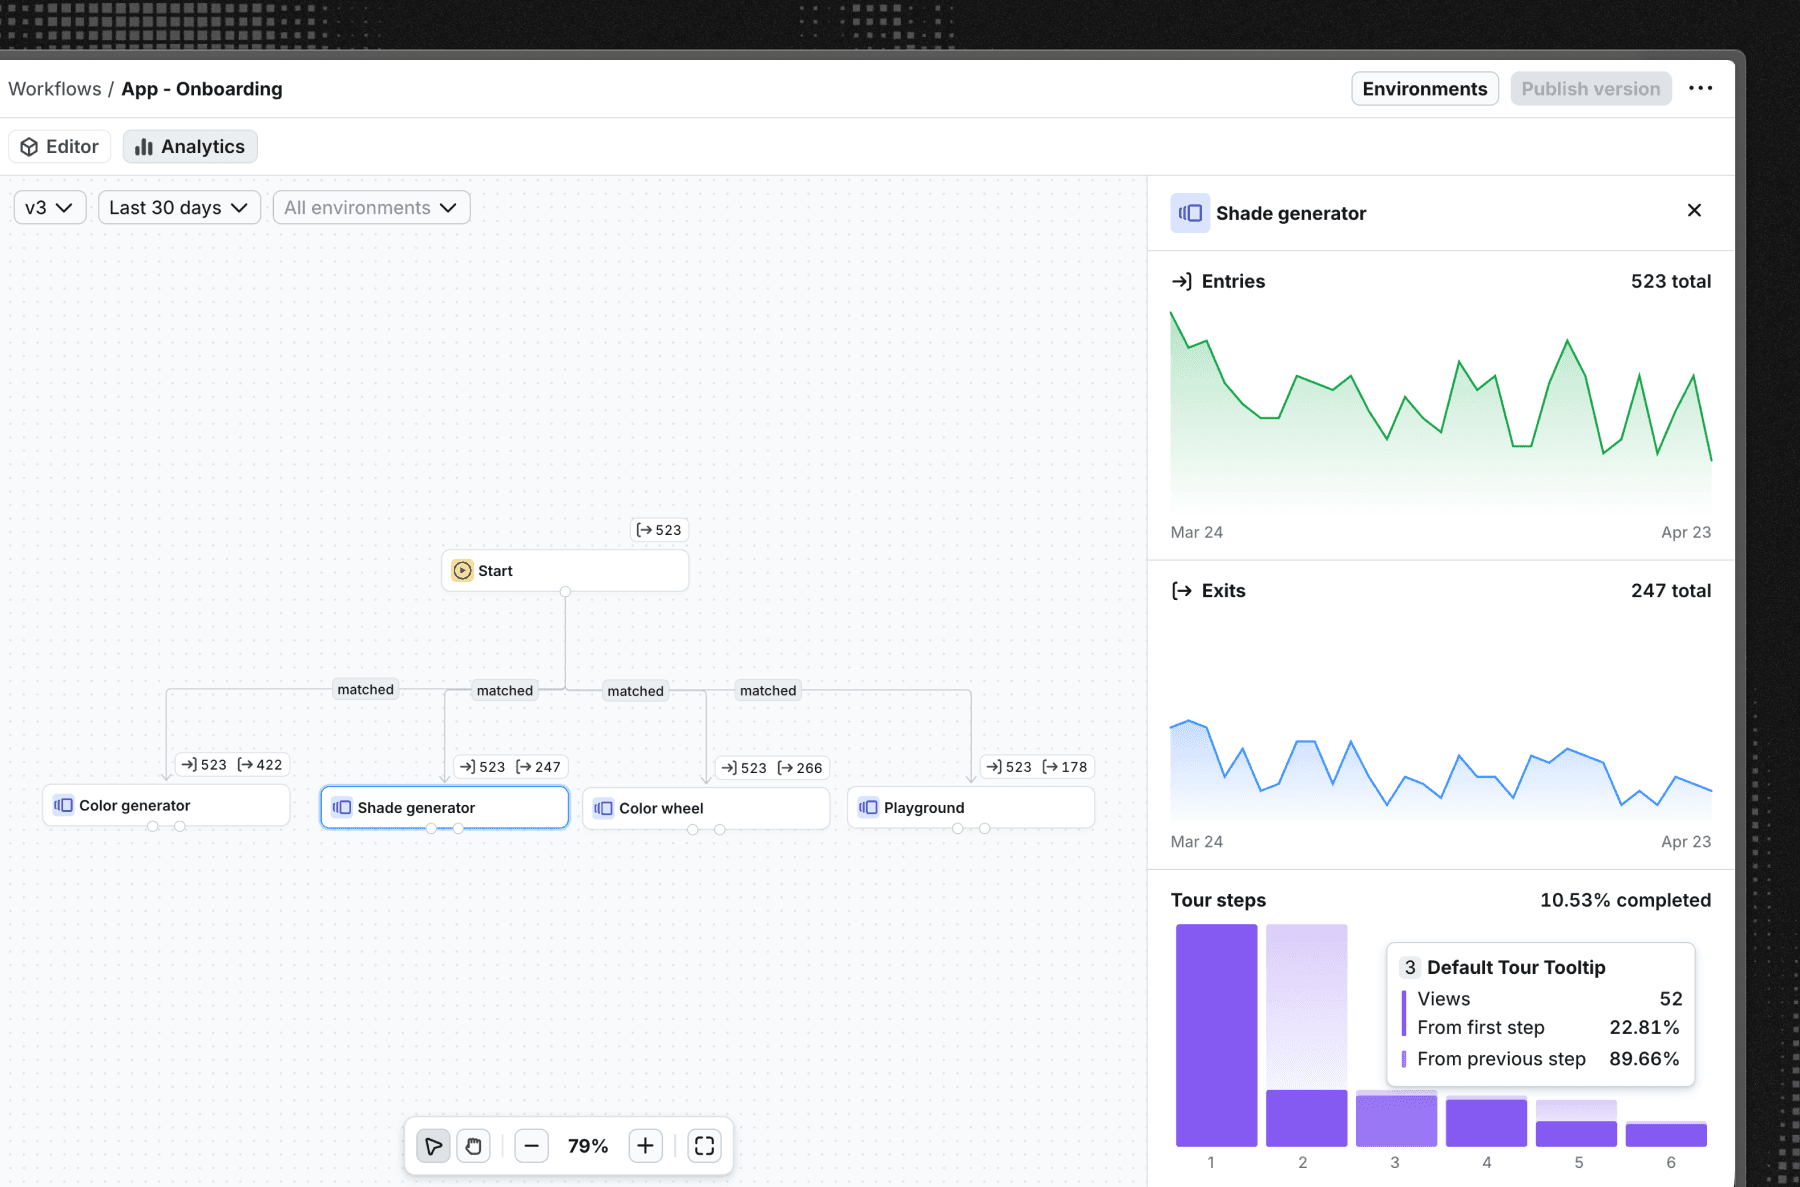
Your product team will likely want to track the performance of the checklist. For example:
- How many users opened the checklist
- Which items get completed and which get skipped
- Where users drop off before finishing
To achieve this, you will need to create an integration into your existing analytics stack or build something from scratch.
Segmentation
Not every user should see the same checklist. For example, you might want to show it only to users who:
- Just signed up
- Have not completed a key setup step yet
- Belong to a specific plan or role
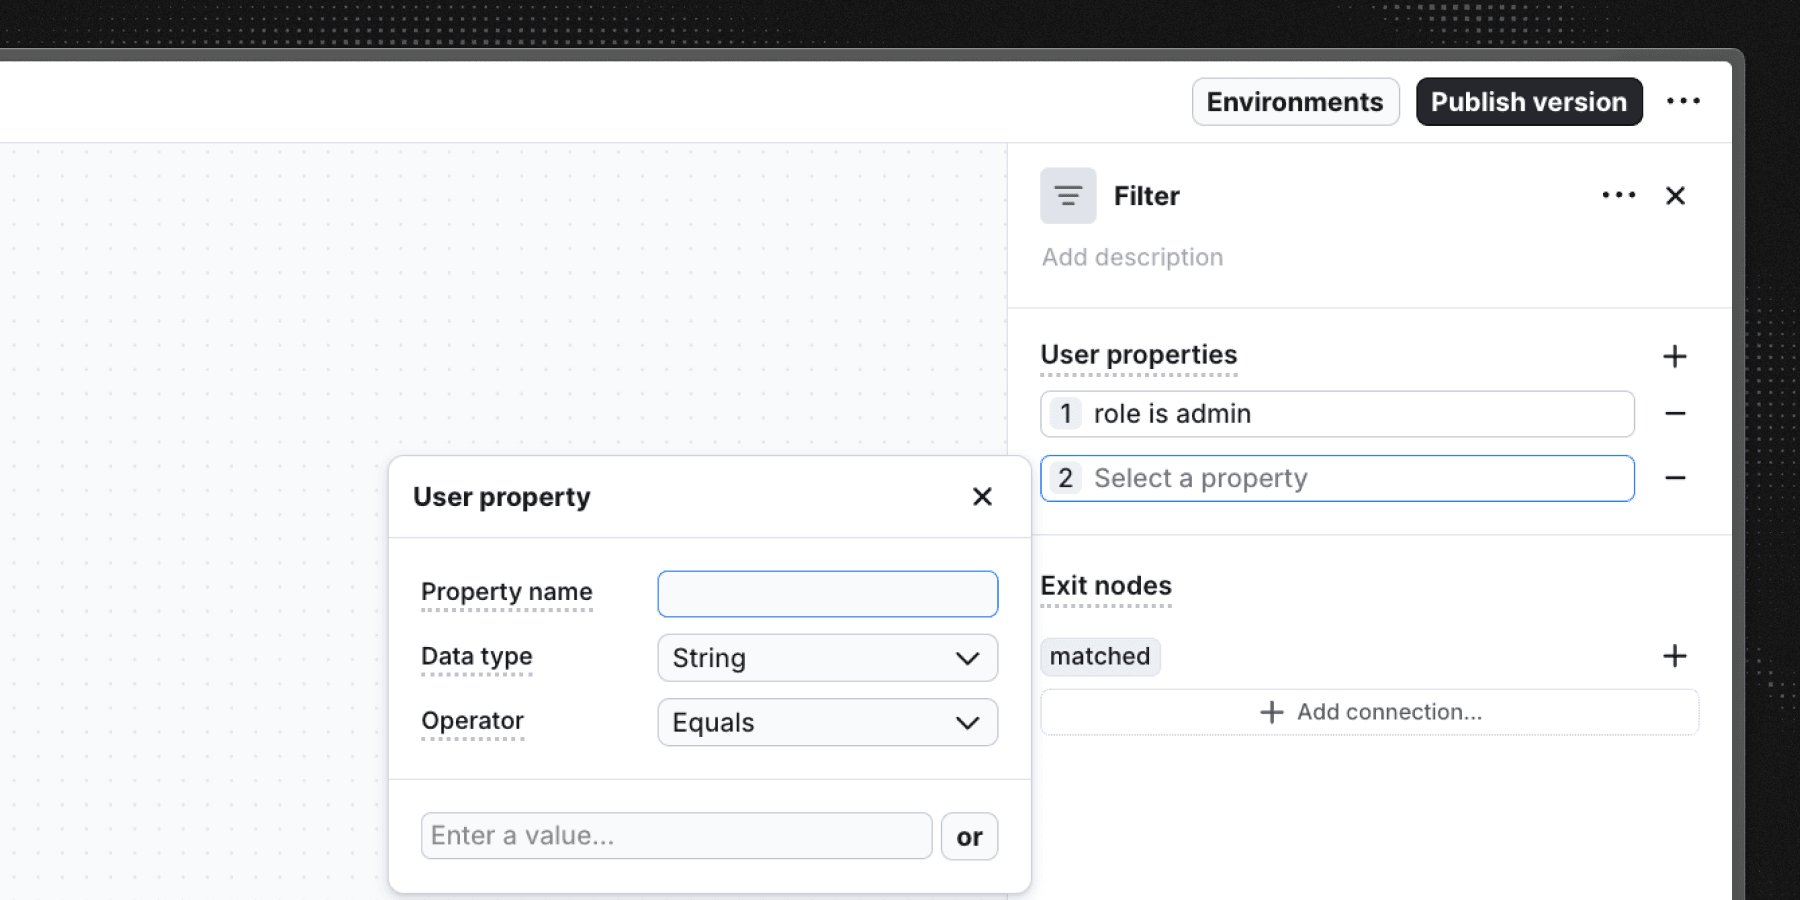
Most of these filters will be defined by non-engineering teammates who manage the product experience, and they'll want to control them without needing developer involvement or deployments.
Onboarding checklist best practices
Before we build one, a quick note on what makes a checklist work:
- Keep tasks achievable: users should be able to finish each task in a reasonable amount of time.
- Show progress: a visible progress bar keeps users motivated.
- Use action-oriented language: "Create a project" works better than "Project".
- Lead users to value: every task should move the user closer to the moment your product clicks.
- Don't overdo it: too many steps overwhelm users. Break long checklists into smaller stages if needed.
- Give users momentum: mark an easy task as completed from the start to create a sense of accomplishment.
Build your onboarding checklist faster with Flows
Everything described above (UI, per-user state, targeting, analytics, environments, and content management) can be solved with Flows in a fraction of the time. Flows comes with a built-in Floating Checklist component that renders as a widget anchored to a corner of the screen, persists across pages, and can launch tours, modals, and other blocks from each item.
Here's how to use it to build your checklist.
Step 1: Installation
Sign up for Flows and create an organization. Then install the SDK:
Add the initialization logic to your root layout inside onMount, and include <flows-floating-blocks> to render floating UI:
For the full list of supported options, see the Svelte installation guide or the Svelte template project. When you have init() integrated into your app, come back here.
Step 2: Create your checklist workflow
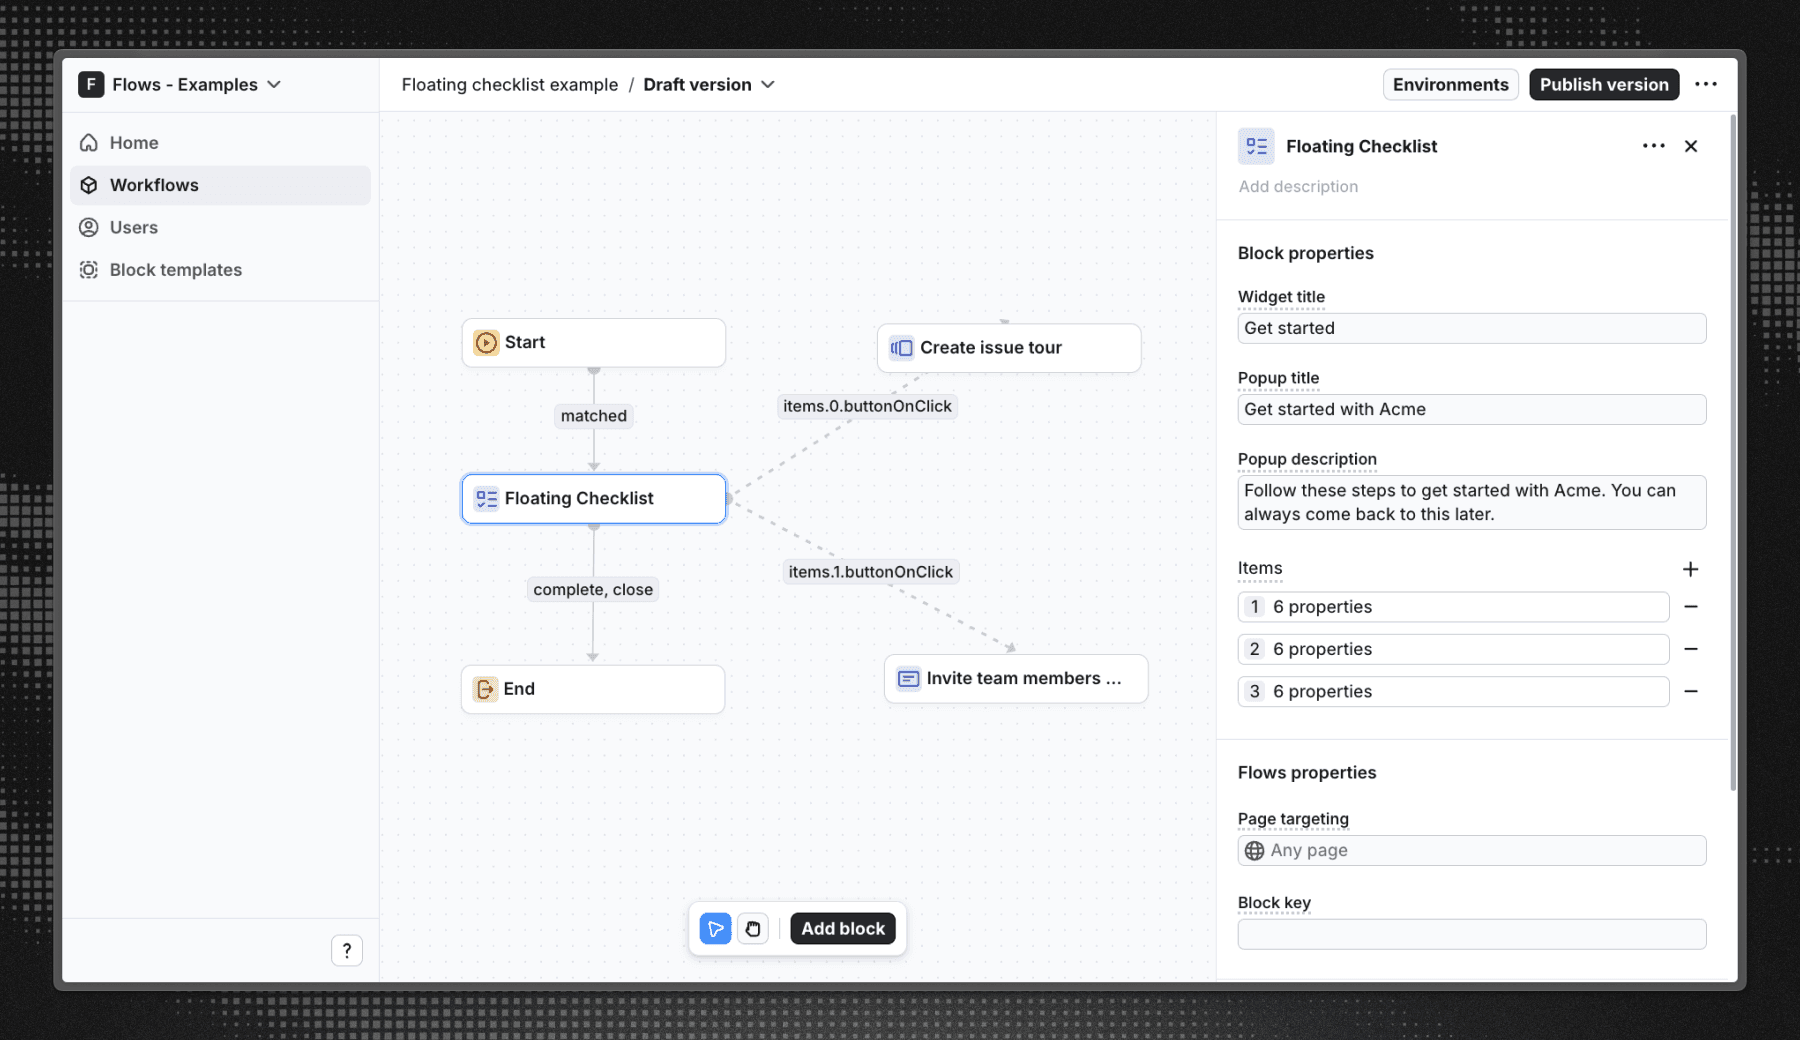
In the Flows dashboard, create a workflow that will contain your checklist content and logic. After creating the workflow:
- Add a Start block. It defines how and which users enter the workflow (you can customize the targeting later).
- Add a Floating Checklist block and connect it to the Start block.
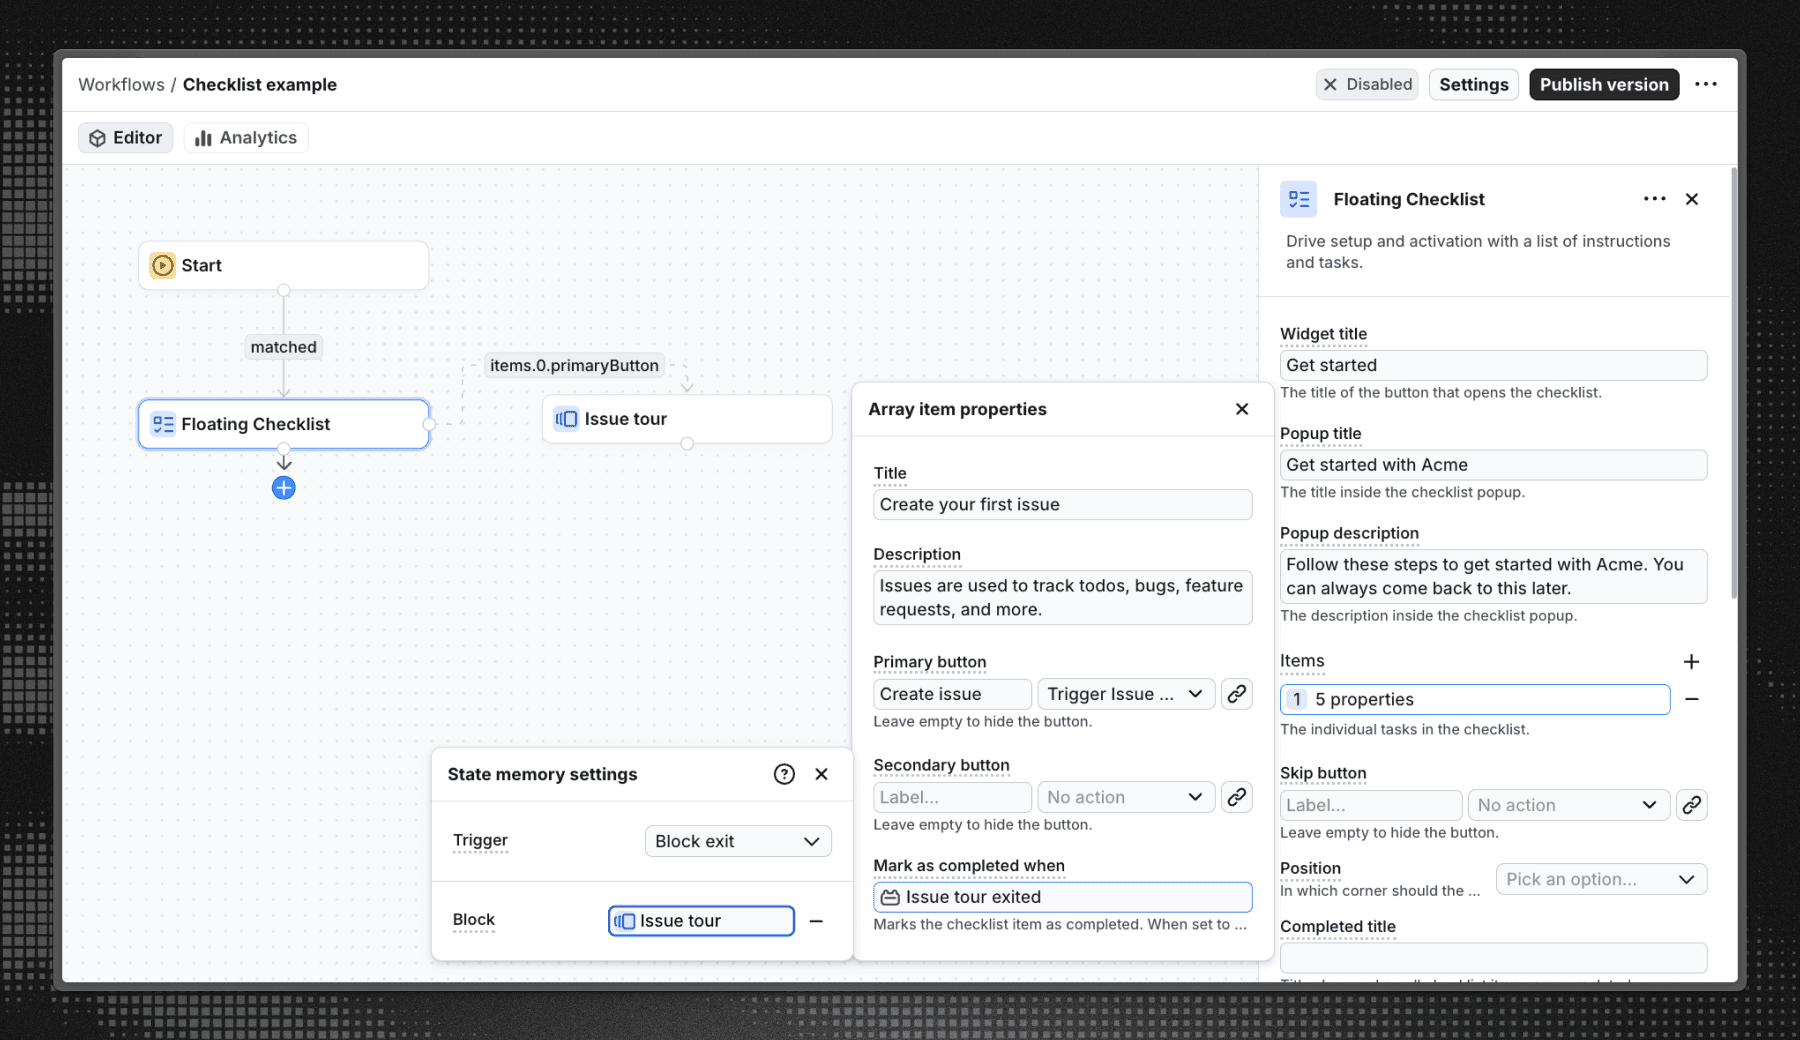
- Fill out the widget title, popup title, and popup description.
- Add your checklist items, for example "Create your first project" and "Invite a teammate". Each item has a title, a description, and a primary button.
By default, an item is marked as completed when the user clicks its primary button. For real activation tasks, you'll usually want the item to complete when the user actually finishes the task. To do that:
- Point the item's primary button to a Tour block (or any other block) that guides the user through the task.
- Set the item's Mark as completed when property to trigger when the user exits that block. This uses the state memory property, which keeps track of what the user has done in the workflow.
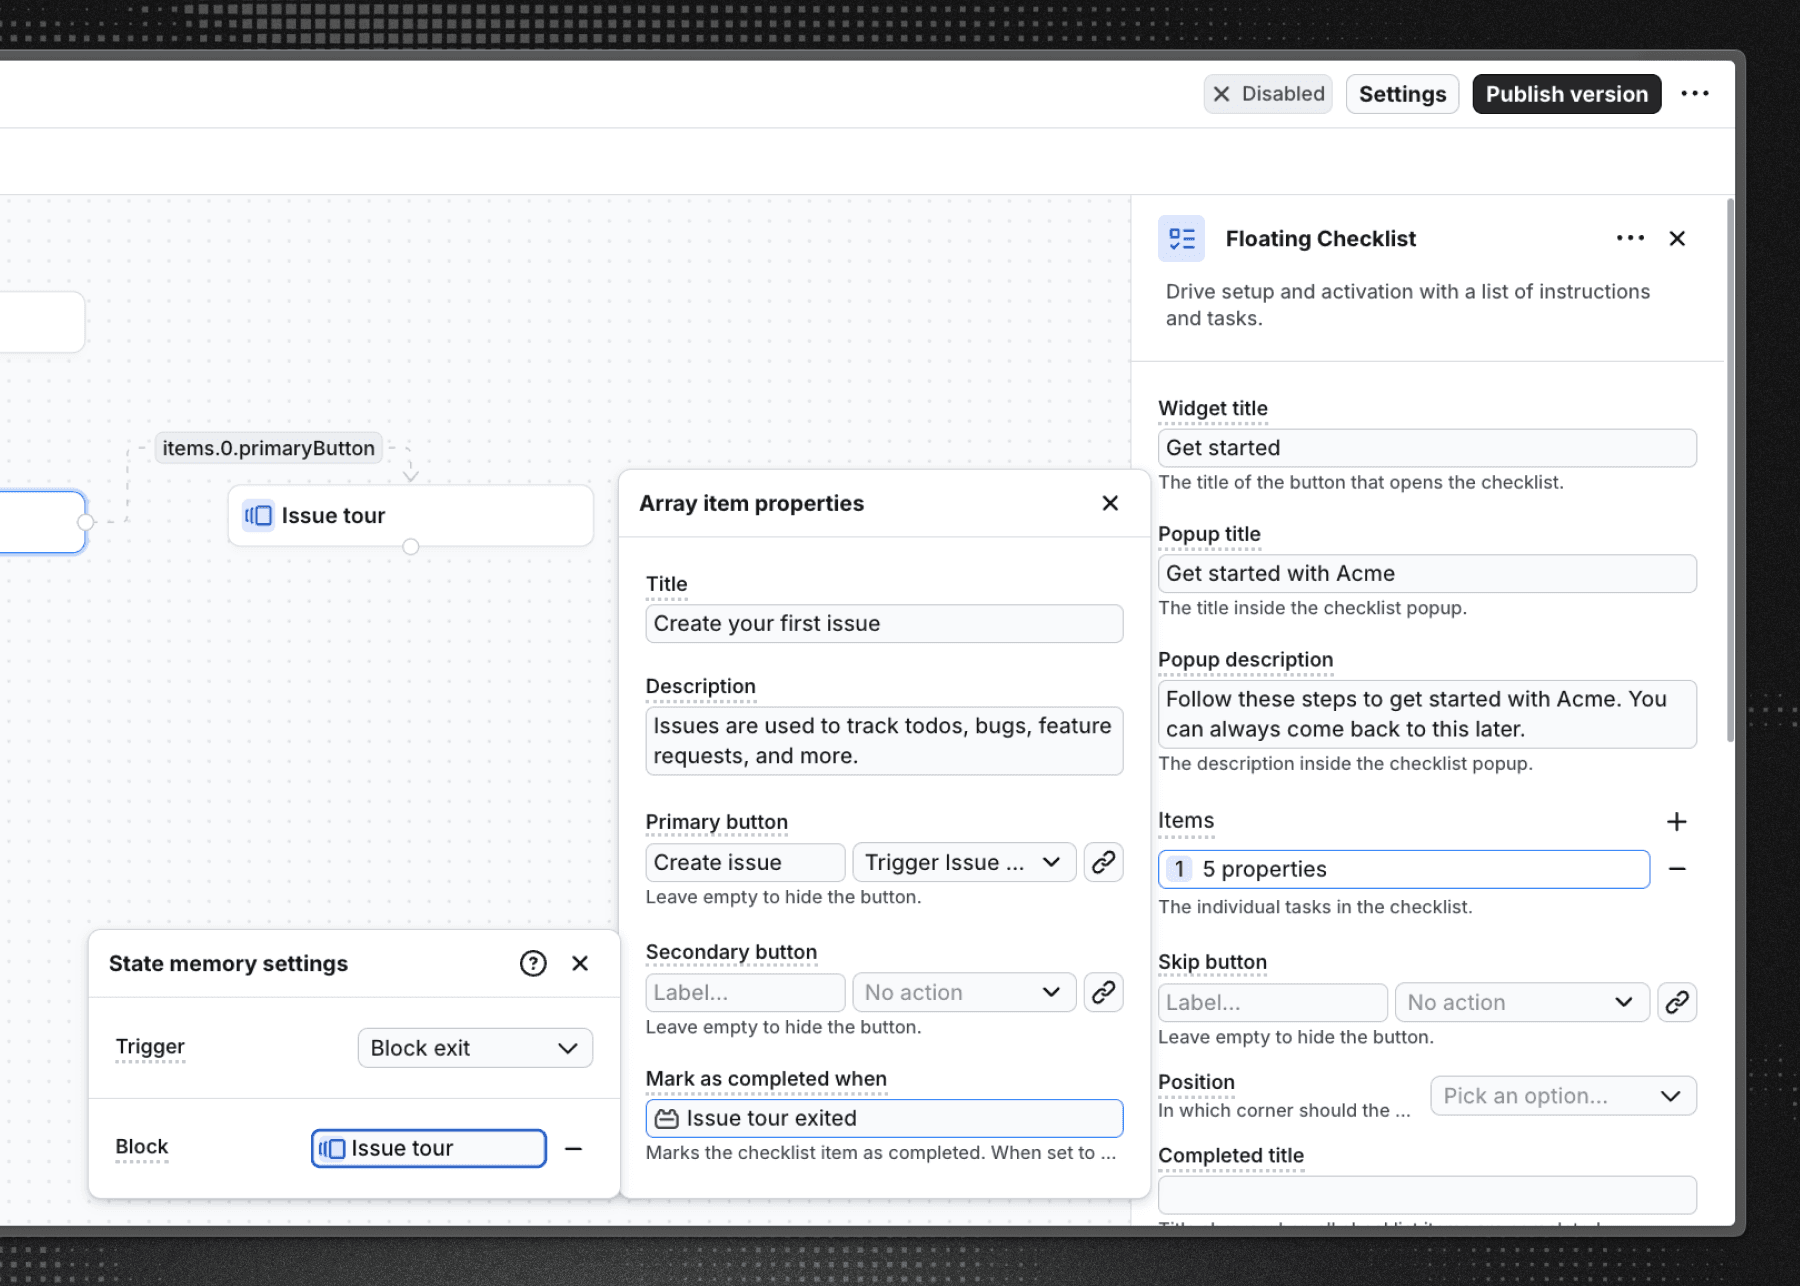
You can also configure the widget position, whether the popup opens by default, and the completed state shown when all items are done. For the full list of options, see the Floating Checklist docs. To explore a complete working setup, check out the floating checklist example with a live demo and source code.
Step 3: Preview and test your checklist
After adding your items, the checklist is ready for a preview. To preview it, create a testing environment called stage by going to Settings > Environments. Then change the environment option in init() to match the newly created environment.
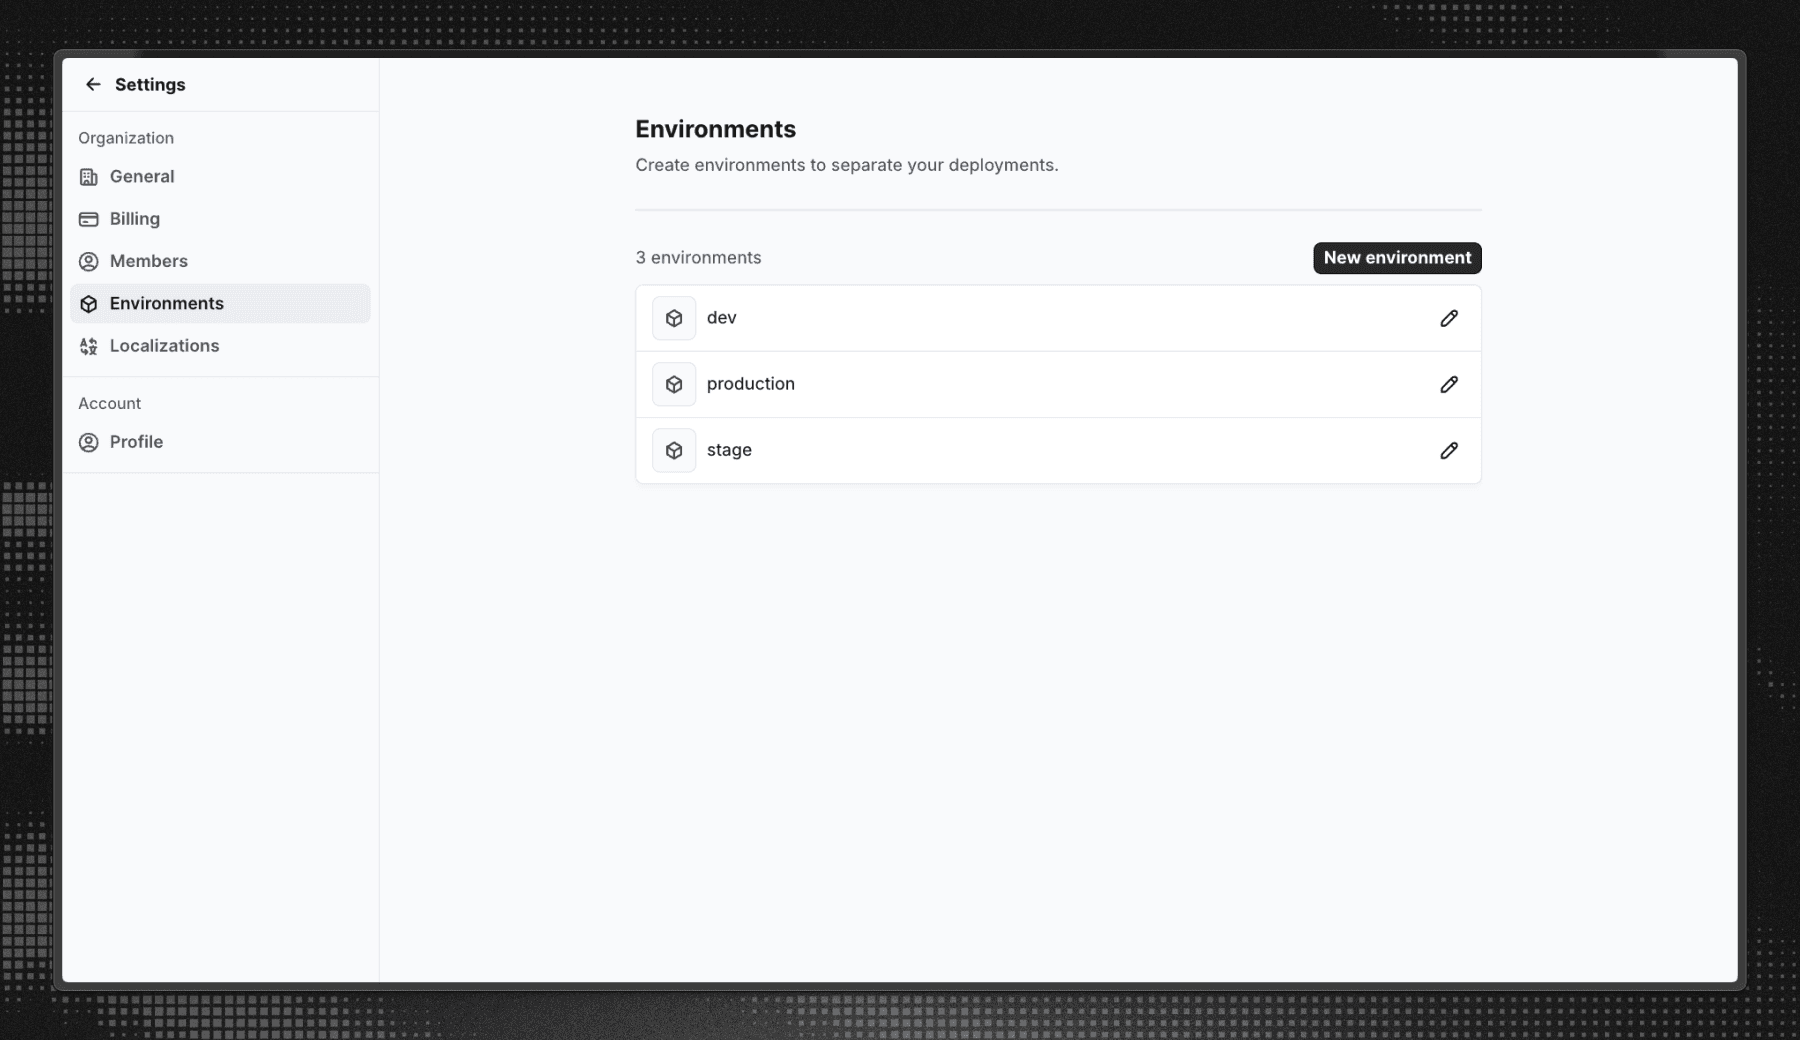
Back in Flows, publish the workflow by clicking Publish in the top right corner and selecting stage in the environments list.
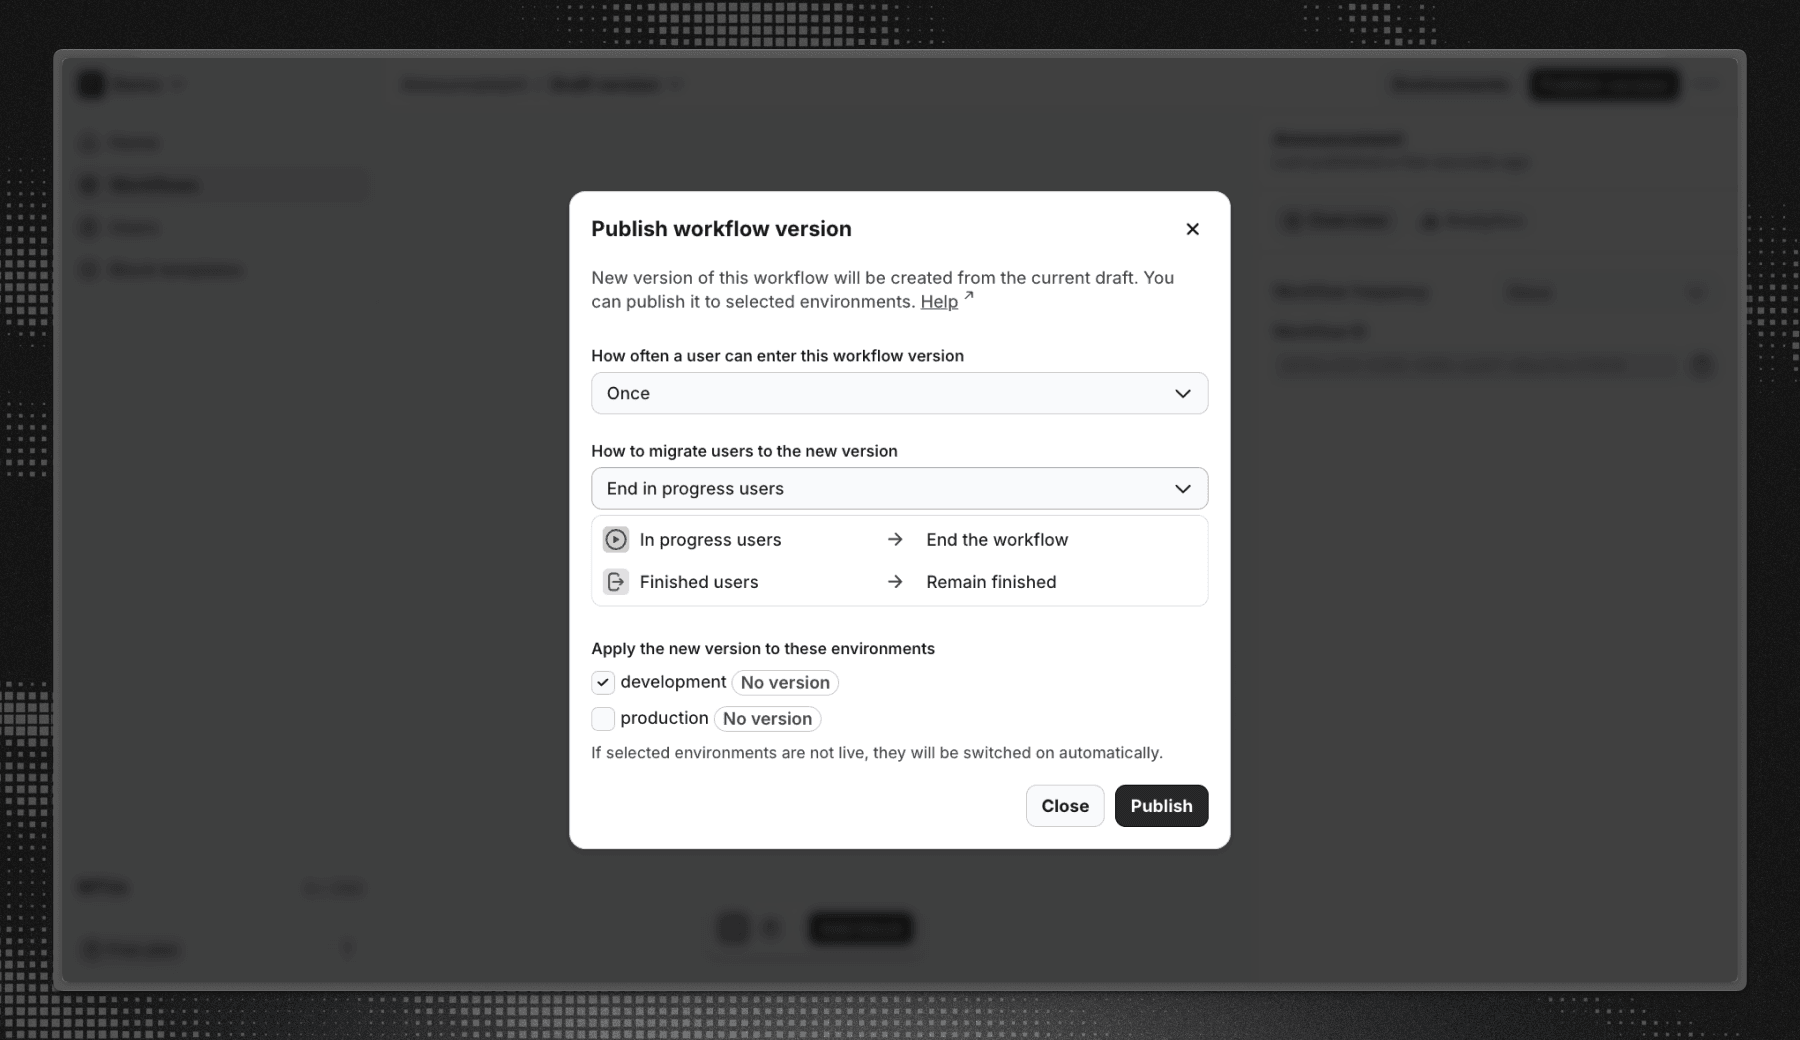
Now, when you start your Svelte app, you should see the checklist widget in the corner of the screen (it is possible that you will need to reload the page if you already had the app running before changing the environments). If you have any issues, you can debug by looking into the browser console or by using our SDK's debug mode.
Step 4: Publish to production
Once you are happy with how your checklist looks and feels, you can publish it to your users. To do that, you first need to deploy the updated Svelte app with the init() integration (don't forget to change the environment option back to production).
When that is live, you can again hit Publish in the workflow and choose the production environment this time. Since this is going into production, make sure to select the right frequency in the publish dialog (you can leave the migration option as is, this option is useful when republishing a workflow to let Flows know how to migrate the active users into the new version).
That's it, you've successfully built a floating onboarding checklist in Svelte using Flows.
Instead of building the widget UI, per-user state, targeting, analytics, and content tools yourself, Flows handles all of it. So you can focus on building your product, not maintaining onboarding infrastructure.
If you're ready to ship better onboarding, faster, try Flows.
Looking for other frameworks?
If you're building an onboarding checklist in a different framework, check out our other guides:
- How to build an onboarding checklist in React
- How to build an onboarding checklist in Next.js
- How to build an onboarding checklist in Vue
- How to build an onboarding checklist in Angular
- How to build an onboarding checklist in SolidJS
- How to build an onboarding checklist in JavaScript
And if you want to guide users through a linear sequence of steps instead, see How to build a product tour in Svelte.